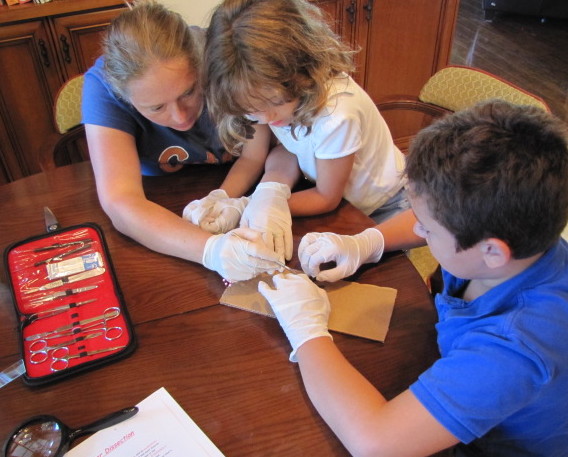
Dissection can be very intimidating. I was honestly not too excited about dissecting initially but felt compelled to do it so my children had the experience. You have to just look at it like art, there isn’t a wrong way. Your mantra needs to be “we are doing this to explore and learn”. We all really found the experience fascinating and learned a great deal. The big attraction on a grasshopper is its eye. They have a “compound eye”. It looks like one eye but when you get it under a microscope you see their eyeball has a bunch of tiny lenses. The lenses can’t change focus, so grasshoppers are unable to see things far away. The compound eye is very good at seeing things close and detecting motion.
As you are dissecting and want to examine the inside of the grasshopper sewing straight pins and thick card board are advisable. This way you can peel back the skin and secure it with pins to the cardboard so that you can examine the organs. There are many YouTube videos on grasshopper dissection. Most of them are pretty poorly done. Unfortunately, I never came across one comprehensive video that I felt like endorsing. For this reason I watched a bunch of different videos until I felt confident at how to lead the kids in performing the dissection and felt confident I was able to distinguish the different organs. I was really happy with my dissection kit. It has items I never foresaw needing. I can honestly say that I have used every tool in my kit. The scissor were particularly useful in cutting through the exoskeleton and removing the eye.

This is a picture I took through the lens of my microscope. All those little dots are the various lenses of the grasshopper’s compound eye.
Exploring
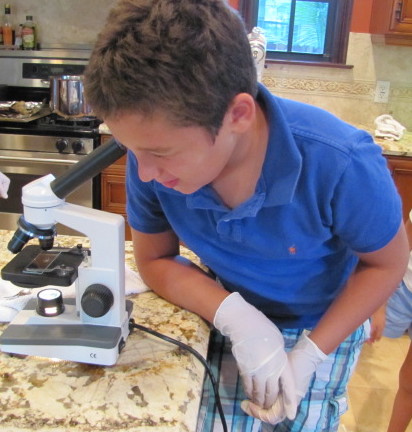
Looking at the grasshopper’s compound eye through the microscope.